This is my first post, I will show you how I created a Daft Punk helmet guy manuel! I started this project in 07/12/2010 and 22/12/2011 I finished ... approximately one year of work.
For any questions I'm here;) well tell me what you think, I hope you like it!
P. S. Before I begin to thank Harrison KRIX (Volpin props), for conveying to me that passion! :)
1 YEARS OF WORK IN 4 MINUTES!
For any questions I'm here;) well tell me what you think, I hope you like it!
P. S. Before I begin to thank Harrison KRIX (Volpin props), for conveying to me that passion! :)
1 YEARS OF WORK IN 4 MINUTES!
 |
| the view is not the greatest but it works well |
 |
basic form finished 
polyurethane foam takes shape!

polyurethane foam covered with dass

cut the "ears" :)

filler metal to fill the imperfections

the second of 15 coats of filler metal o.O

finally almost all smooth
   
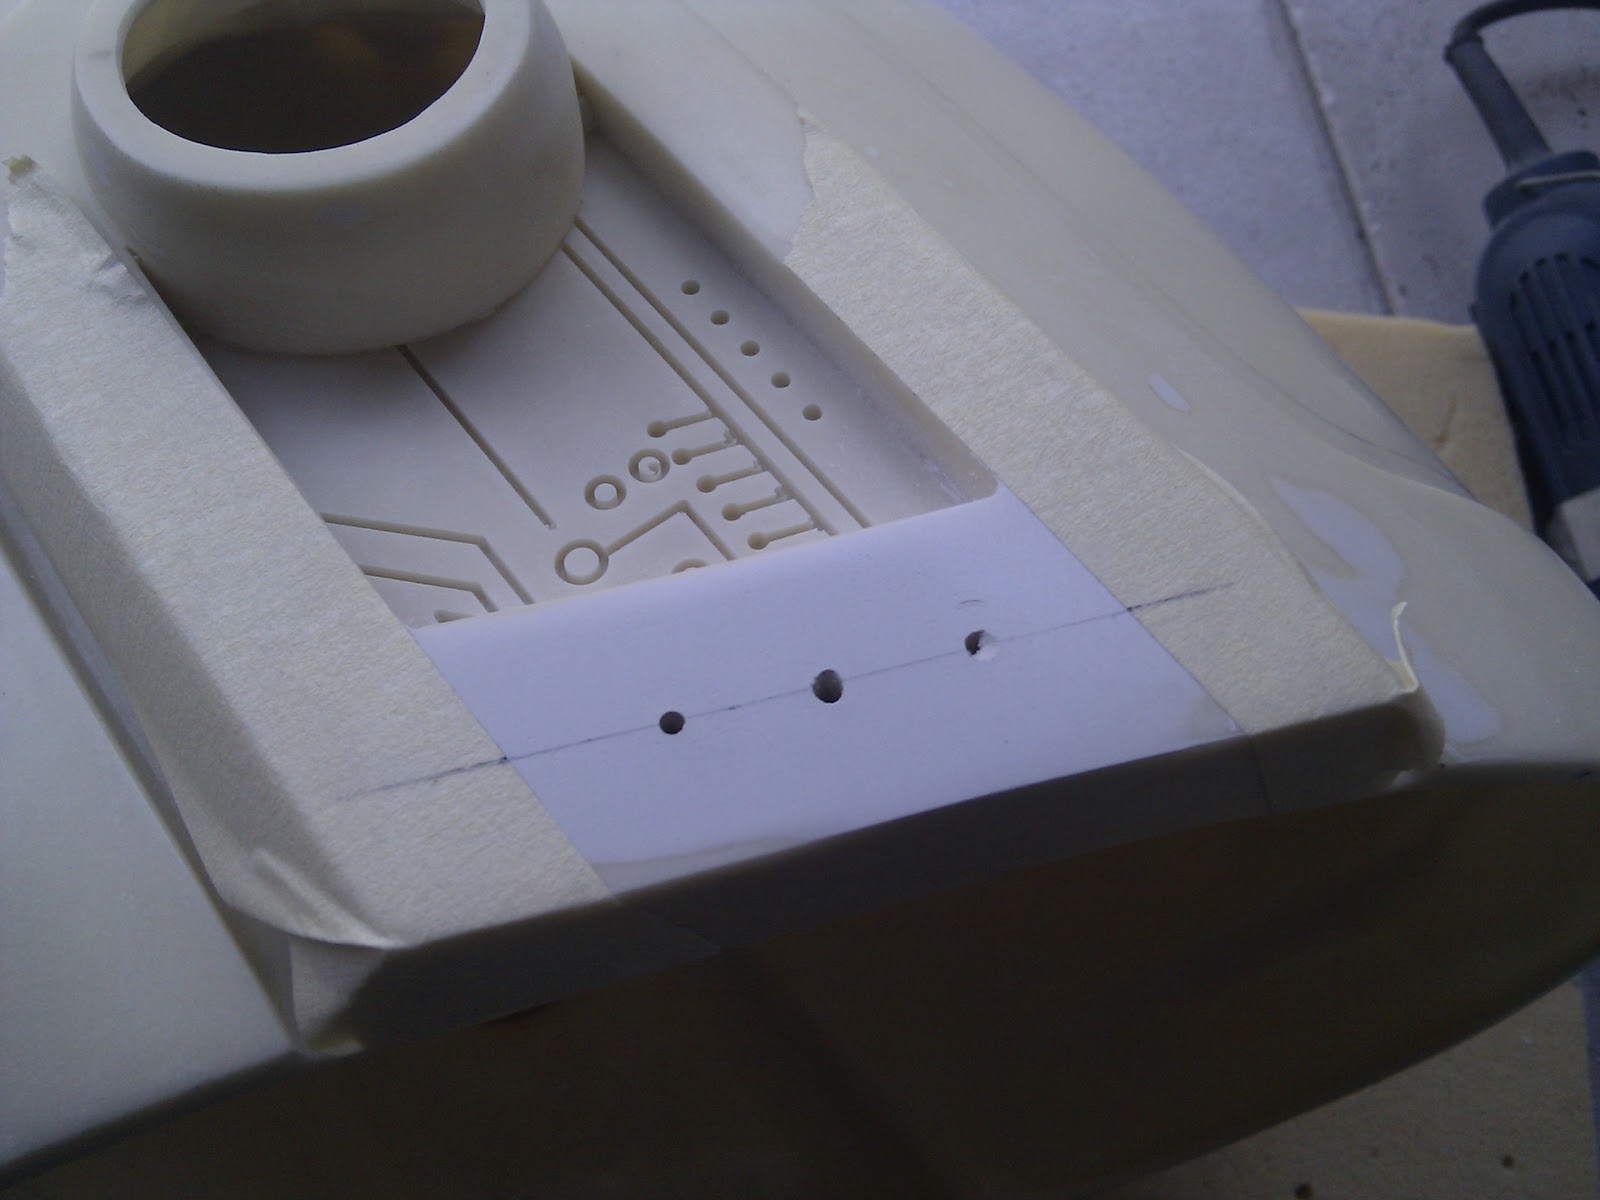
design of the shares of the "ears"

creation of the program for the numerical control milling machine

numerical control milling machine
 
"ears"

polyurethane foam for sostenerele "ears"
   
to improve the surface I used the filler metal
  
I closed the holes around the "ears" always with the filler metal
    
these are the two "ears" assembled!
       
final coat of fiberglass
 
finally the real helmet!
  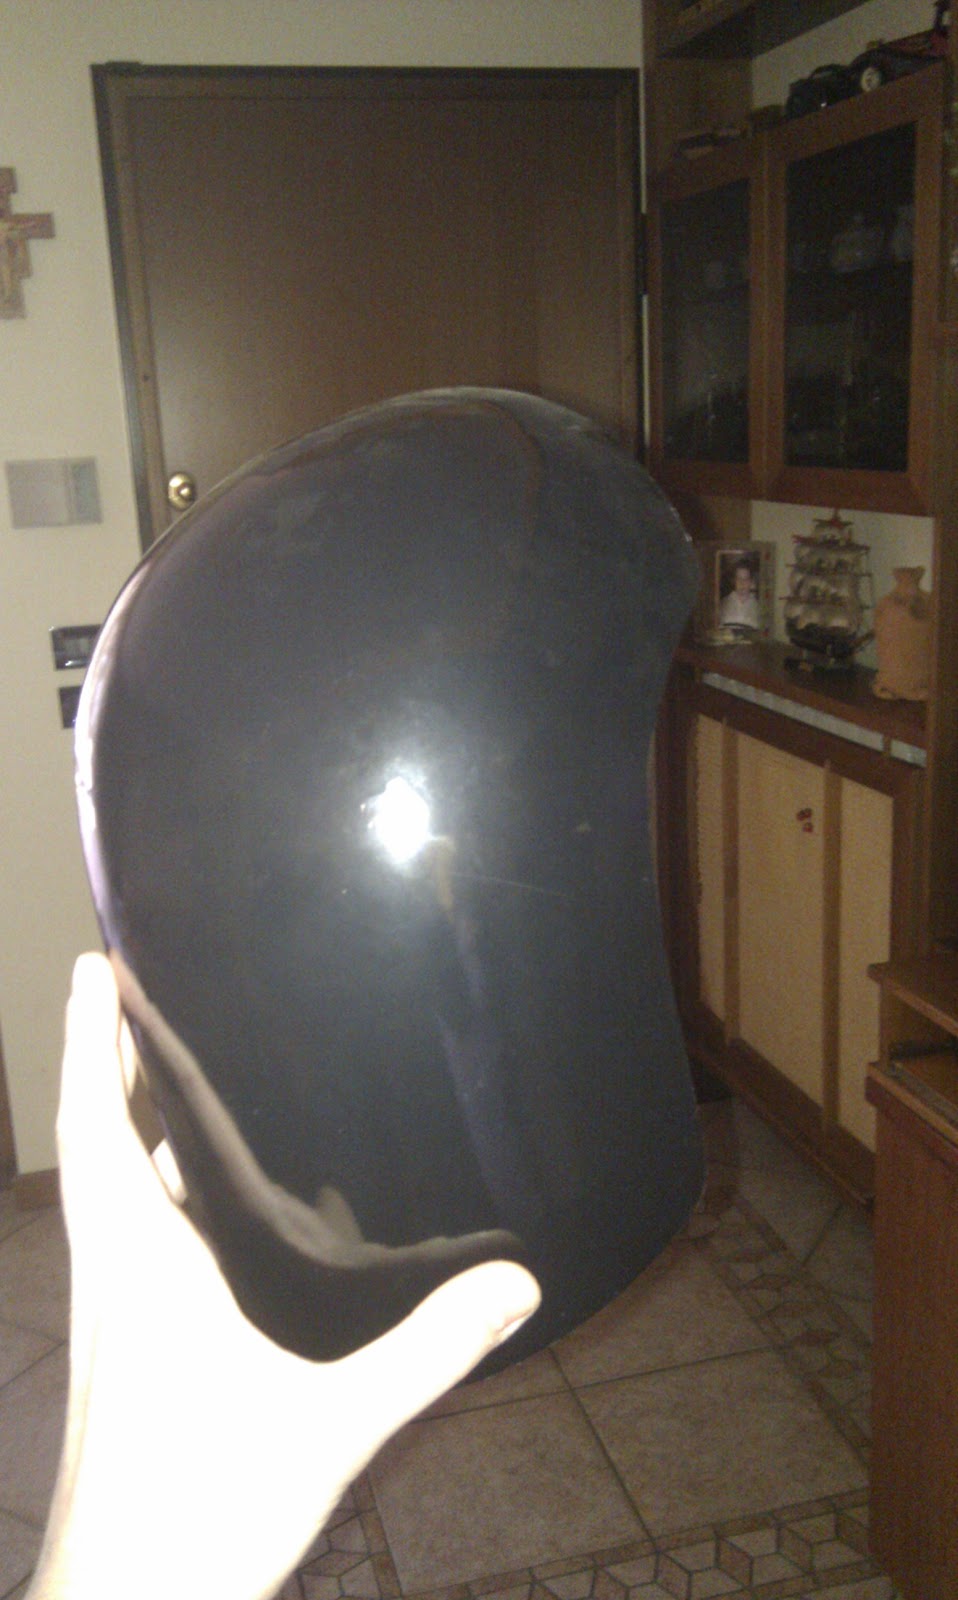 visor obscured :) 
parts to eliminate

milling to finish the job
   creation of the base for the lights  ok! perfect .. the visor does not touch the base for the lights  white paint to increase the reflection of light white paint to increase the reflection of light            
Finished!
  
result... perfect!

test size, fortunately all the measures are good

and finally after 1 month of waiting here is the chrome helmet! is really nice!

I put the sponge on the back to support the colored wires

and here is the result
 
PVC transparent to be cut, paste and paint
 
sponge to help spread the light
    and here "ear" complete  "cardiogram" Oook!   
daft punk guy manuel helmet ready!

and this is the end result ... What do you think? it took me 1 year of work but I'm really pleased! :D
thanks for following me! see soon :)
|